|
|
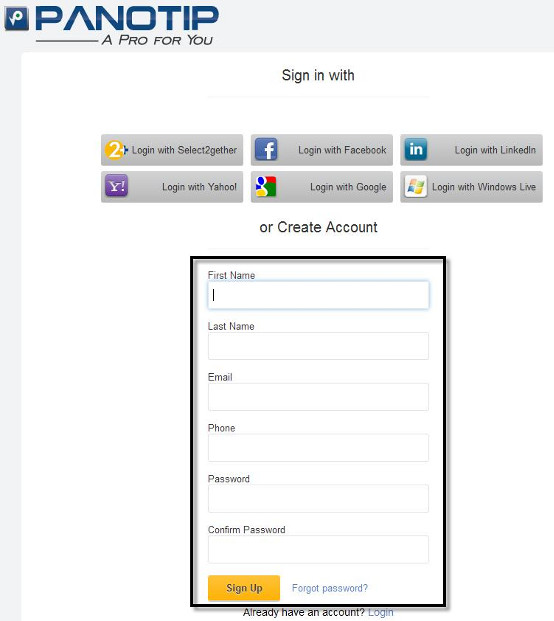
You can register via Select2gether, Facebook, Twitter, LinkedIn, Yahoo, Google, Windows Live or an e-mail address. To sign up for Panotip:
After Sign Up you can register as Freelancer/Contractor or as Company.

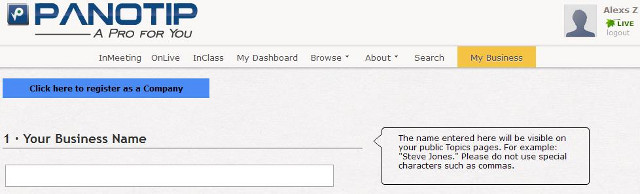
After completing the Sign Up process go to "My Business" and fill the freelancer form:

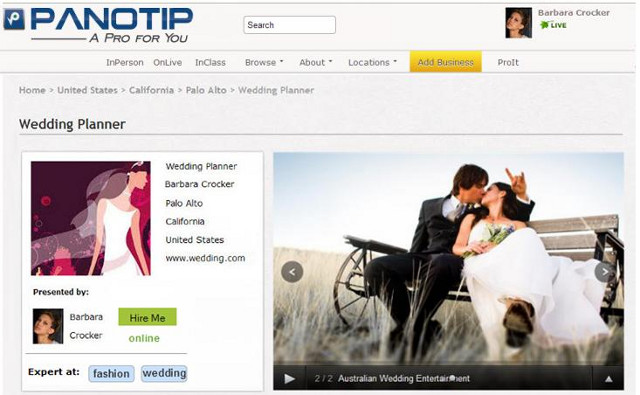
Example of Freelancer Account:
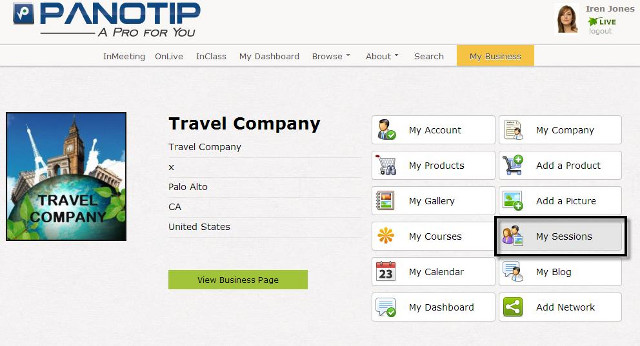
After completing the Sign Up process go to "My Business" -> "Click here to register as a Company" and fill the Company registration form:


Example of Company Account:

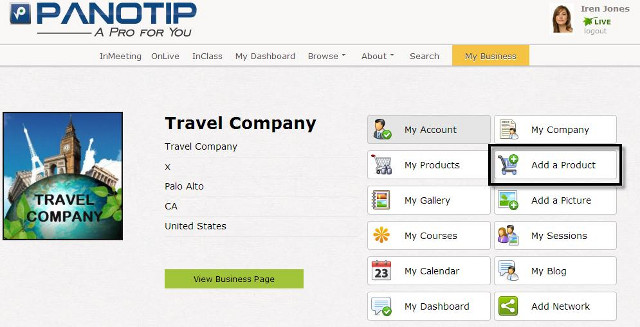
When you create a business account for your company, you can create a product page by clicking on the button "Add Product".
Add your product or consultation rates and offers by filling the form.
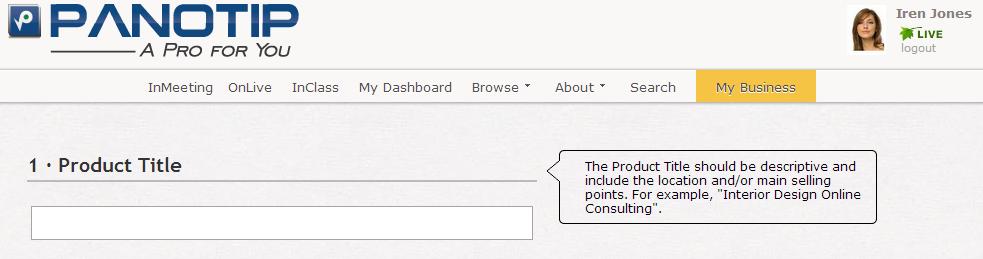
Fill the product registration form, which has the following sections:
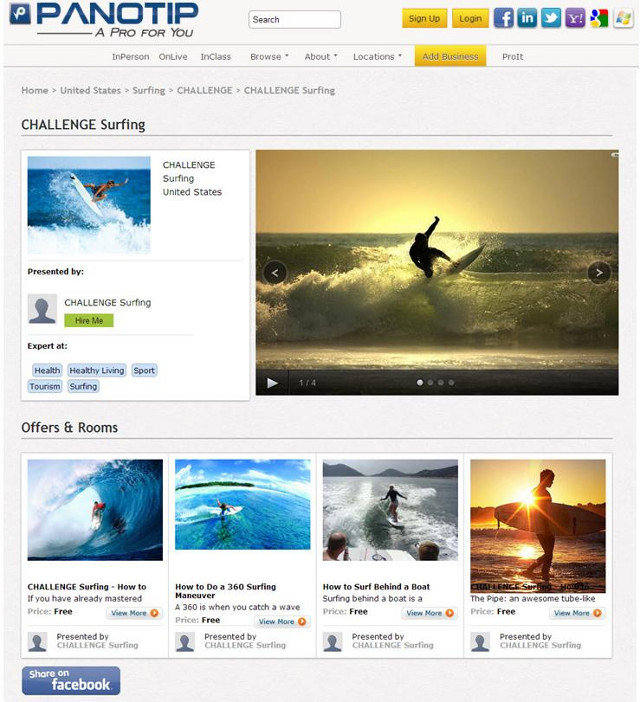
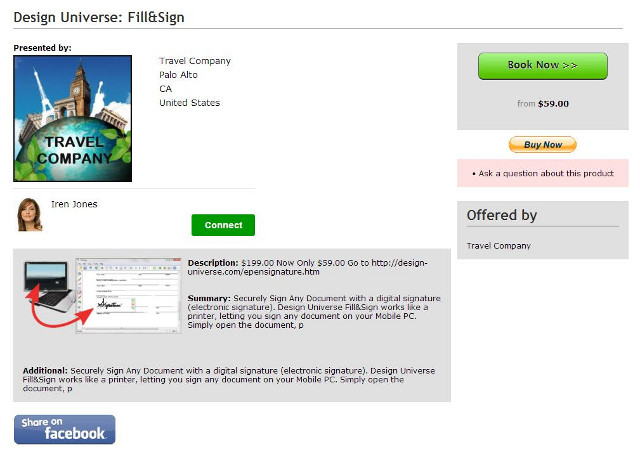
Example Product page:
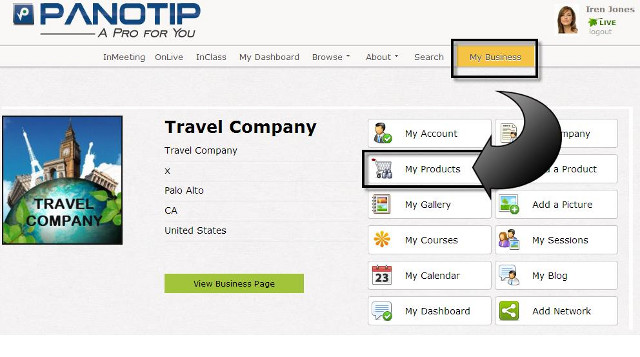
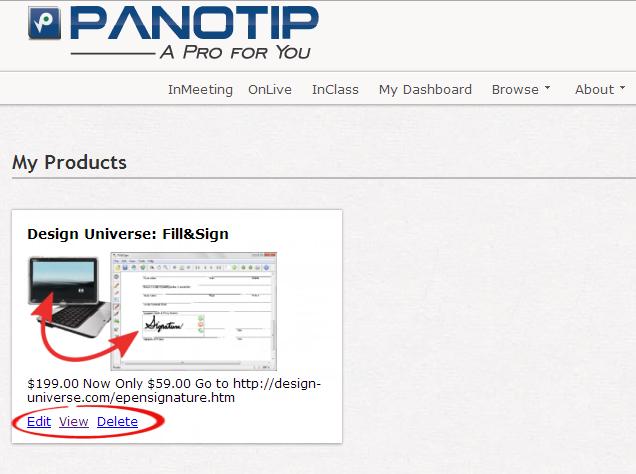
Go to the "My Business" page and press button "My Products". On this page you can see all your Products. Click the Edit link on the product in order to change the product's details.
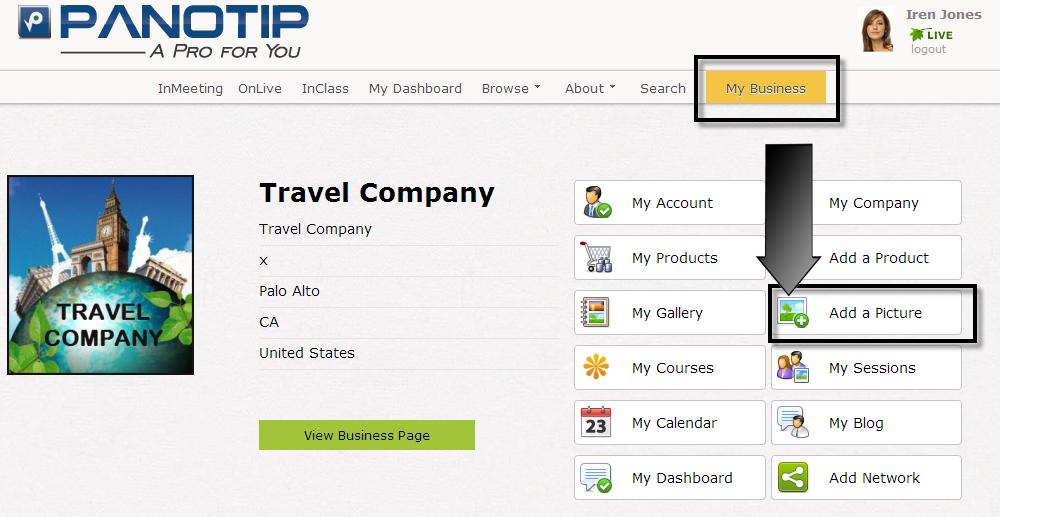
When you create a business account for your company, you can create a Gallery by clicking on the button, "Add a Picture " from your Business Home Page. Upload your picture to the Gallery. You can use Proit feature for adding pictures from the web. Save your data. Now you can view the new pictures on your Gallery Page.


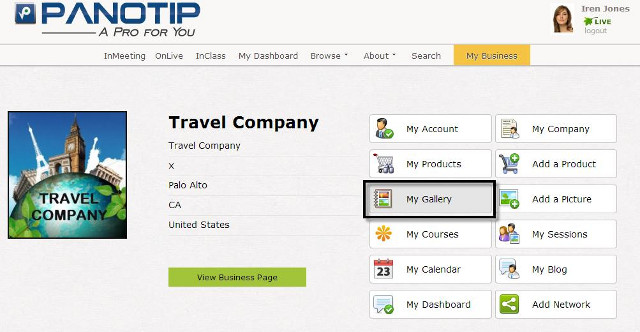
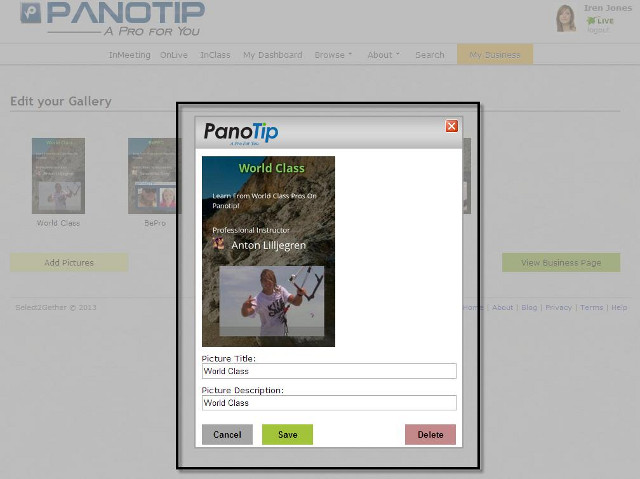
Go to Panotip business home page. Press "My Gallery". On this page you can view , edit or delete any from your Gallery. For it choose any picture from your Gallery.
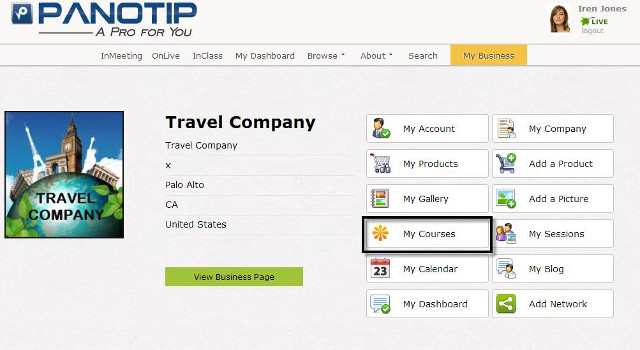
Go to Panotip business home page. Press "My Courses".

On the My Challenges page click the Add a Challenge button.

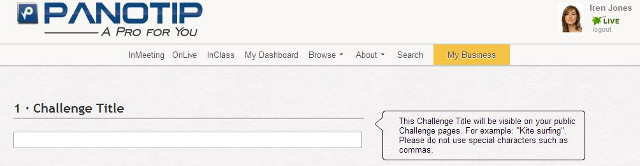
Fill the fields in the Add Challenge form:
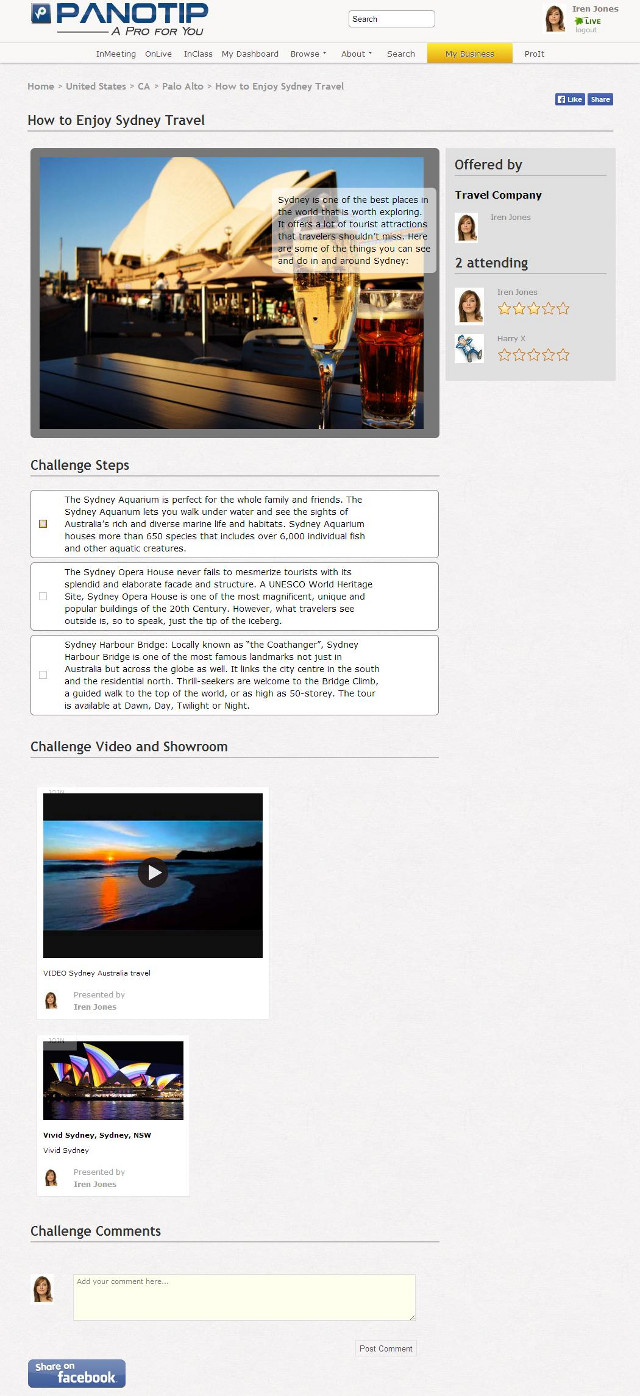
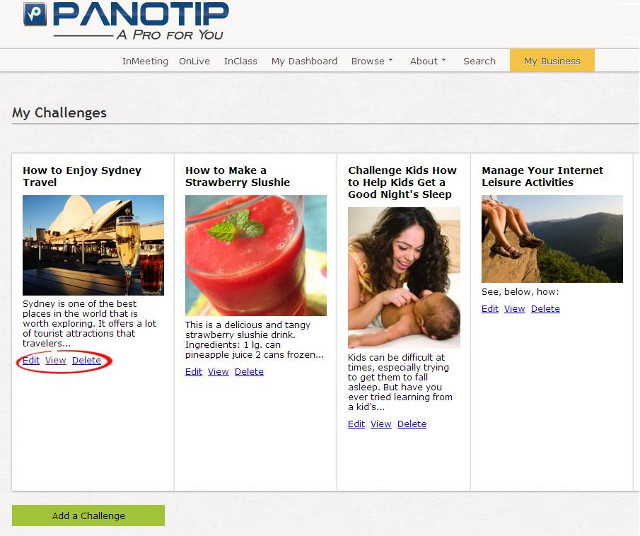
Example Challenge page:
Go to Panotip business home page. Press "My Courses". On this page you can view, edit or delete any from your course. The Edit Challenge form will open, with your existing information already filled. Modify the parts you wish to change. Press the Save Changes button to save and continue.
Online courses follow a consistent structure:
Submit An OnCourse Challenge Proposal
We'd love to see your ideas for OnCourse Challenges!
Log in to your Panotip account and submit the Challenge Proposal Form. We'll review it and, if it meets the criteria given above, publish your Challenge.
(instruction text?)